How to format a hard drive for both Windows and Mac: Easy Guide

In current digital environment, compatibility between different operating systems is crucial, especially when it comes to external hard drives. Whether you’re transitioning between a Windows PC and a Mac or simply need a drive that works seamlessly across both platforms, knowing how to format a hard drive for both Windows and Mac is essential. In this guide, we’ll walk you through the step-by-step process to ensure your hard drive is formatted correctly for both systems.
Understanding File Systems:
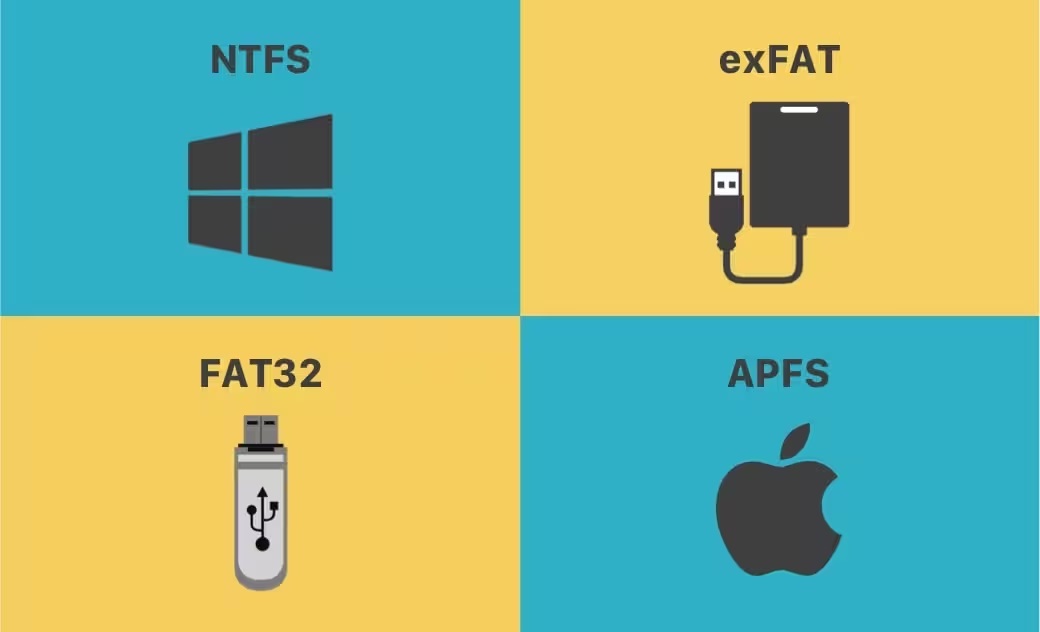
Before diving into the formatting process, it’s essential to understand the two primary file systems used by Windows and Mac:
- NTFS (New Technology File System): Developed by Microsoft, NTFS is the default file system for modern versions of Windows. It offers excellent security features, file compression, and support for large file sizes.
- APFS (Apple File System) and HFS+ (Hierarchical File System Plus): APFS is the default file system for Macs running macOS High Sierra and later versions, while HFS+ is the older file system. Both offer features like encryption, snapshots, and optimization for solid-state drives.
Formatting for Windows and Mac:
Now, let’s delve into the process of formatting a hard drive for compatibility with both Windows and Mac systems:
Step 1: Backup Your Data
Before proceeding with formatting, ensure you’ve backed up any important data stored on the hard drive. Formatting will erase all existing data, so it’s crucial to safeguard your files beforehand.
Step 2: Connect the Hard Drive
Connect the hard drive to your computer using a compatible cable (USB, Thunderbolt, etc.).
Step 3: Open Disk Management (Windows) or Disk Utility (Mac)
- For Windows: Press Win + X, then select “Disk Management” from the menu.
- For Mac: Go to Applications > Utilities > Disk Utility.
Step 4: Locate the External Drive
In Disk Management or Disk Utility, locate your external hard drive from the list of available drives.
Step 5: Format the Drive
For Windows:
- Right-click on the external drive and select “Format.”
- Choose the file system as “exFAT” for compatibility between Windows and Mac.
- Optionally, you can assign a new volume label.
- Click “OK” to begin the formatting process.
For Mac:
- Select the external drive from the sidebar in Disk Utility.
- Click on the “Erase” tab.
- Choose the file system as “exFAT.”
- Provide a name for the drive.
- Click on “Erase” to start formatting.
Step 6: Wait for Formatting to Complete
The formatting procedure may take little bit time, depending on the size of the hard drive. Once completed, you’ll receive a notification.
Step 7: Eject the Drive
After formatting, safely eject the external hard drive from your computer to avoid data corruption.
Step 8: Test the Drive
Before transferring any crucial data, test the formatted hard drive on both Windows and Mac systems to ensure compatibility and functionality.
Conclusion:
Formatting a hard drive for both Windows and Mac doesn’t have to be a daunting task. By following the steps outlined in this guide, you can seamlessly prepare your external drive to work across different operating systems. Remember to back up your data, choose the appropriate file system (exFAT), and test the drive for compatibility. With a properly formatted hard drive, you can enjoy hassle-free file sharing and storage between Windows and Mac devices.
Formatting a hard drive for compatibility with both Windows and Mac systems is a straightforward process that ensures seamless file sharing across platforms. By following the steps outlined in this guide, users can prepare their external drives to work efficiently on both operating systems. For more tech-related insights and guides, stay tuned to TechHBS for the latest updates and solutions.
